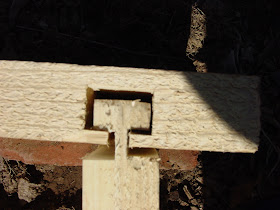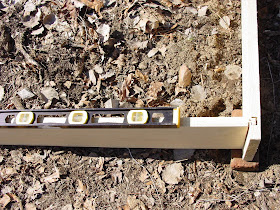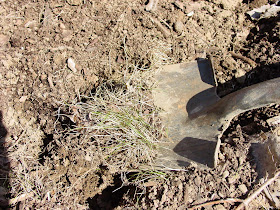

The hard part is building up the downside of the bed and cutting into the upside of the slope so that the bed is level.
I started by putting down a few bricks to support the wood on the downside slope.

 I used a level to determine when the boards were at the correct angle.
  My soil is clay-like and full of rocks and roots of all sizes.
  I wedged the clumps of clay, rocks and sod that I dug up underneath the downside boards and put bigger rocks against the downslope planks to prevent erosion. If the soil does end up washing away when it rains, I may have to invest in more bricks. (If you have done this and have any tips for preventing that, please let me know!)
  Can you believe it snowed here this morning?

Hey, another Nyacker has a copy of This Organic Life . . .
ReplyDeletegood luck with your beds; that is a lot of work.
You are doing it just like I would. Those frames are really nice.
ReplyDeleteExcellent job! I'm impressed with anyone who uses a level. Sounds like you worked hard. Happy snowy spring!
ReplyDeleteDennis just stopped by to tell you about Michelle Obama's 1,100 sq. ft garden. but you already knew.
ReplyDeleteDennis didn't see no snow--what????
ReplyDeleteI can't wait to see the finished garden, how large of an area are you raising?
ReplyDeleteIt was freezing here today, too! Cold and blustery. If you see any Spring, send a little my way!
Very Very impressive.
ReplyDeleteif i hadnt seen these pics, never would have known what handy work went into those beds!
good lord amazing!
Very impressive raised bed building--I was looking at some triangular ones (behind Babbitt House) yesterday. and noticed in another sloping yard the bed were helped by metal spikes here and there. For the slopes of Nyack one could use very long and strong spikes.
ReplyDelete